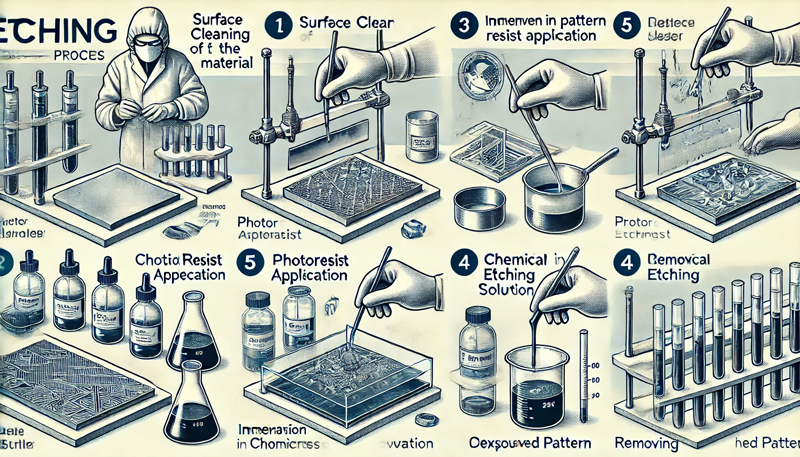
Etching stainless steel can be a rewarding way to create intricate designs on this durable material. Here's a step-by-step guide to help you etch stainless steel safely and effectively:
### 1. Gather Your Materials
- **Stainless steel sheet or object**
- **Resist material** (sticker paper, vinyl, or acid-resistant spray paint)
- **Stencil or pattern** for design
- **Etching solution** (ferric chloride or a saltwater solution if you prefer electro-etching)
- **Protective gear** (gloves, goggles, and a mask)
- **Plastic or glass container** (for etching solution)
- **Brushes, sponges, or cotton swabs** (if applying solution manually)
### 2. Clean the Stainless Steel Surface
Make sure your stainless steel surface is free from dirt, grease, and oils. You can use rubbing alcohol or soap and water, then dry it thoroughly. A clean surface is essential for the resist material
to adhere properly.
### 3. Apply the Resist Material
- **Vinyl or Stencil**: Place your vinyl or stencil with your design onto the cleaned stainless steel. Make sure it’s well-adhered to prevent any etching solution from seeping underneath.
- **Spray Paint Resist**: If using spray paint, apply an even coat over the area you don’t want to be etched and let it dry. You can scratch off areas in your design if needed after it’s dry.
### 4. Prepare the Etching Solution
For different etching techniques:
- **Chemical Etching with Ferric Chloride**: Ferric chloride is commonly used for etching stainless steel. Mix the solution according to the manufacturer’s instructions in a plastic or glass
container. Never use a metal container.
- **Saltwater Electro-Etching**: If you prefer electro-etching, prepare a saltwater solution (about 1 tablespoon salt per cup of water).
### 5. Etch the Stainless Steel
Depending on the etching method you choose:
- **Chemical Etching**: Submerge the stainless steel piece into the ferric chloride solution or brush it onto the exposed areas of the metal. Let it sit for 5-20 minutes, depending on the depth you want.
Check the progress regularly to avoid over-etching.
- **Electro-Etching**: Connect a positive lead from a power supply to the stainless steel and a negative lead to a piece of carbon or similar material. Dip a cotton swab in saltwater and touch it to
the exposed areas while the power is on to begin the etching process. Move the swab slowly over the design to control depth.
### 6. Rinse and Remove the Resist
Once you’re satisfied with the etching depth, rinse the stainless steel thoroughly with water to neutralize the etching solution. Remove the resist material carefully to reveal your etched design.
### 7. Final Touches
Clean and polish the etched surface to make your design stand out. Buffing or adding a protective coating can enhance the finish.
### Safety Tips
- Always work in a well-ventilated area.
- Wear gloves, goggles, and a mask to protect yourself from chemicals.
- Dispose of etching chemicals safely, according to local guidelines.
By following these steps, you can create precise, customized etchings on stainless steel. Let me know if you’d like more details on any specific step or materials!
Contact: andy_Lai
Phone: 18938693450
E-mail: yw9@zldsmt.com
Add: Building A3, Huafa Industrial Park, Fuyong Town, Fuyuan Road, Fuyong Town, Baoan District, Shenzhen,China